
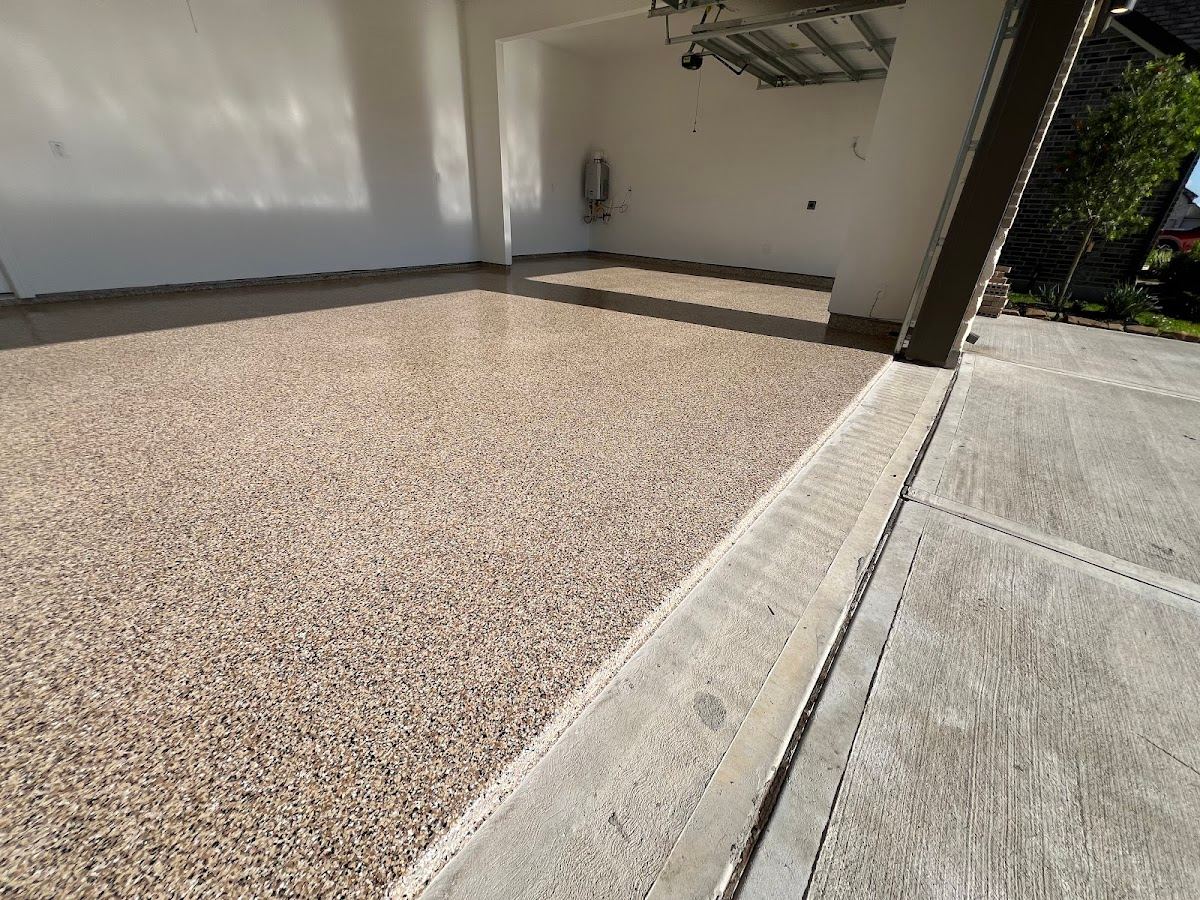
If you own a home anywhere around Houston, your garage floor lives a harder life than most people realize. Between heat baking up through a slab-on-grade foundation, humidity that barely lets up, and tires that roll in off the freeway hot enough to peel a cheap finish, a coating that looks perfect in a big-box-store kit can fail within a couple of summers on the Gulf Coast. Done right, though, a garage floor coating will outlast almost everything else in the garage and shrug off whatever Houston throws at it. This guide walks you through the systems, the climate factors that decide success, honest cost drivers, and how to choose a coating that actually holds up.
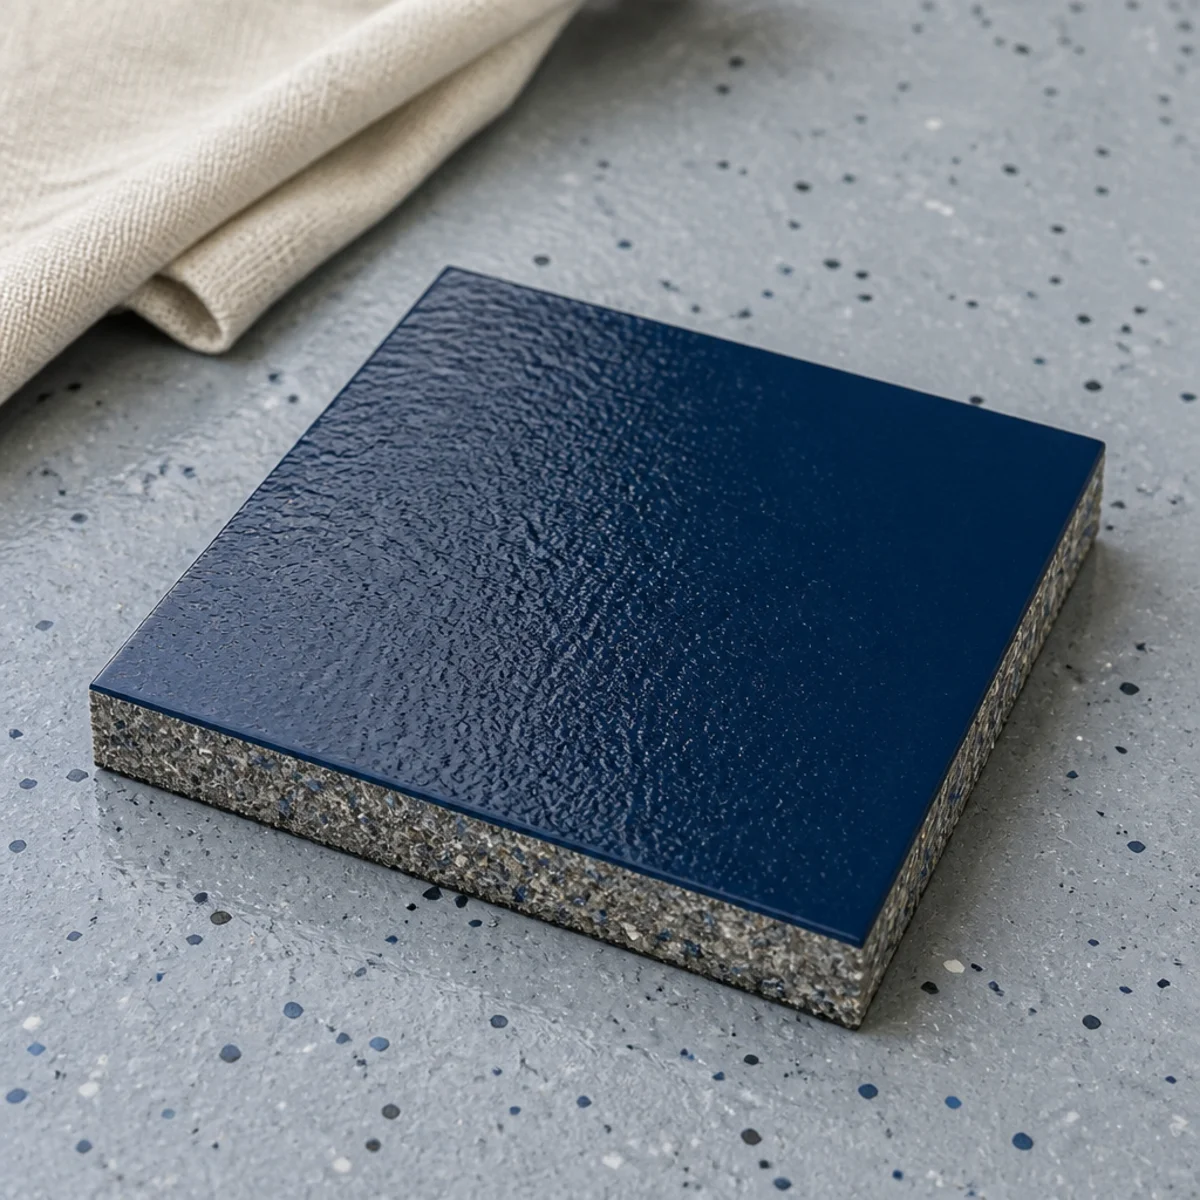
Why Houston garages need a different approach
Most of our region's homes sit on slab-on-grade foundations, meaning the concrete pours directly onto the ground with no basement or crawlspace beneath it. That ground holds moisture, and that moisture constantly tries to migrate upward through the slab as vapor. A coating that traps that vapor underneath itself will eventually blister, bubble, or delaminate. In a dry climate you can cut corners on moisture and get away with it. Here you cannot.
Then there's the heat. A south-facing garage with the door open in July sees surface temperatures swing hard from morning to afternoon. Coatings expand and contract with that swing, and a brittle or poorly bonded film cracks and lifts at the edges. Humidity also affects how products cure during installation: lay a coating on a muggy morning without accounting for dew point and you can end up with a hazy, soft, or fish-eyed finish that never reaches full hardness.
None of this is a reason to skip coating your garage. It's the reason product choice and surface prep are the two things that decide whether you get five years or twenty-five. We dig deeper into the regional angle in our guide to the best flooring options for Texas garages.
Garage floor coating systems compared
There is no single best system for every garage, only the best system for your garage based on how you use it and what your slab is doing. Here are the building blocks we work with most.
| System | What it is | Best for | Houston watch-outs |
|---|---|---|---|
| Epoxy base | Two-part resin that bonds to ground concrete and builds a thick, hard film | Foundation layer, color, filling minor imperfections | Not UV-stable on its own; ambers in direct sun |
| Polyaspartic / polyurea topcoat | Fast-curing, UV-stable clear top layer | Sun-exposed garages, fast turnaround | Costs more than economy topcoats, but earns it here |
| Flake | Vinyl color flakes broadcast into the base, locked under a clear coat | Most homeowners; hides dust and tire marks | Needs proper broadcast density for full coverage |
| Quartz | Graded quartz aggregate for maximum slip resistance and durability | Heavy-use, wet, or workshop garages | Heavier build; usually a premium option |
Epoxy
Epoxy is the workhorse base coat. It bonds tightly to properly ground concrete and builds a thick film that fills minor imperfections. The catch is that straight epoxy is not UV-stable, so sun through an open door will amber it over time, and it needs proper surface preparation and moisture handling to bond the way it should. In Houston, epoxy almost always belongs under a tougher topcoat rather than as the final exposed layer. See our deeper comparison of epoxy flooring vs. polished concrete if you're weighing both.
Polyaspartic and polyurea
Polyaspartic is the Gulf-Coast secret weapon as a topcoat. It's UV-stable so it won't yellow, it cures fast enough for a one-day turnaround, and it stays flexible enough to handle our temperature swings without cracking. It also resists hot tire pickup far better than economy products. Most of our garage concrete coatings pair an epoxy or flake base with a polyaspartic topcoat: the base gives you build and color, the topcoat gives you abrasion resistance, UV stability, and a quick return to service.
Flake systems
Flake systems are the most popular look we install. Vinyl color flakes are broadcast into the base coat, then locked under a clear topcoat. The result is a flake epoxy floor that hides dust, tire marks, and minor slab imperfections, adds slip resistance underfoot, and matches almost any palette. For most Houston homeowners wanting a finished, showroom-style garage, a full flake build with a polyaspartic topcoat is the sweet spot. Our flake epoxy floor benefits post breaks down the look in more detail.
The humidity and hot-tire-pickup problem
Here's the failure we get called to fix most often. A homeowner buys a one-day kit, rolls it over a swept-but-not-ground slab, and it looks great for a season. Then the first real summer hits. Tires come home hot, sit on the coating, and when the car backs out the next morning the coating peels up in tire-shaped patches. That's hot tire pickup, and it happens because the coating never truly bonded and wasn't built to flex with heat.
Pair that with trapped slab moisture and you get the second failure mode: bubbling and delamination that starts at cracks or edges and spreads. Both problems trace back to the same two root causes. Prep was inadequate, and the product wasn't engineered for our climate. Professionals prevent it by mechanically opening the concrete so the coating keys into it, checking moisture before anything goes down, giving each layer the right cure conditions, and finishing with a topcoat built for heat and UV.
What proper surface prep actually involves
Prep is where good work and bad work separate, and it's the step kits skip. When we coat a garage floor in Houston, the prep alone follows a clear sequence:
- Diamond grinding. We mechanically profile the concrete with diamond tooling so the coating has a textured surface to bite into. This is the single most important step. Acid etching, the DIY shortcut, doesn't open the slab the same way and leaves residue that undermines the bond. More on why in concrete grinding before epoxy.
- Crack and slab repair. Cracks, pits, spalling, and control joints get addressed so they don't telegraph through the finish.
- Moisture testing. We confirm the slab is dry enough to coat. If it isn't, we adapt the system or add a moisture-mitigating primer rather than trap vapor underneath it.
- Cleaning and profiling check. The ground surface is vacuumed and inspected before any resin goes down.
Our dedicated concrete grinding and surface-prep process is the backbone of every coating that lasts here.
What a professional install looks like
A quality install is a process, not a paint job. After prep, the sequence runs like this:
- Site assessment of slab condition, existing coatings, cracks, drainage, and how you use the space.
- Base coat goes down, tinted to your chosen color.
- Flake broadcast to refusal if you chose a flake system, then scraped and cleaned.
- Topcoat of UV-stable polyaspartic or comparable product to seal everything in.
- Cure and walkthrough before you take the keys back.
Set realistic expectations on downtime. A polyaspartic-forward system can often be walked on the same day and driven on within about 24 hours. A full flake epoxy build typically runs one to two days start to finish, including cure. We give you a clear timeline up front so you can plan around it. For the long view, see how long epoxy flooring lasts.
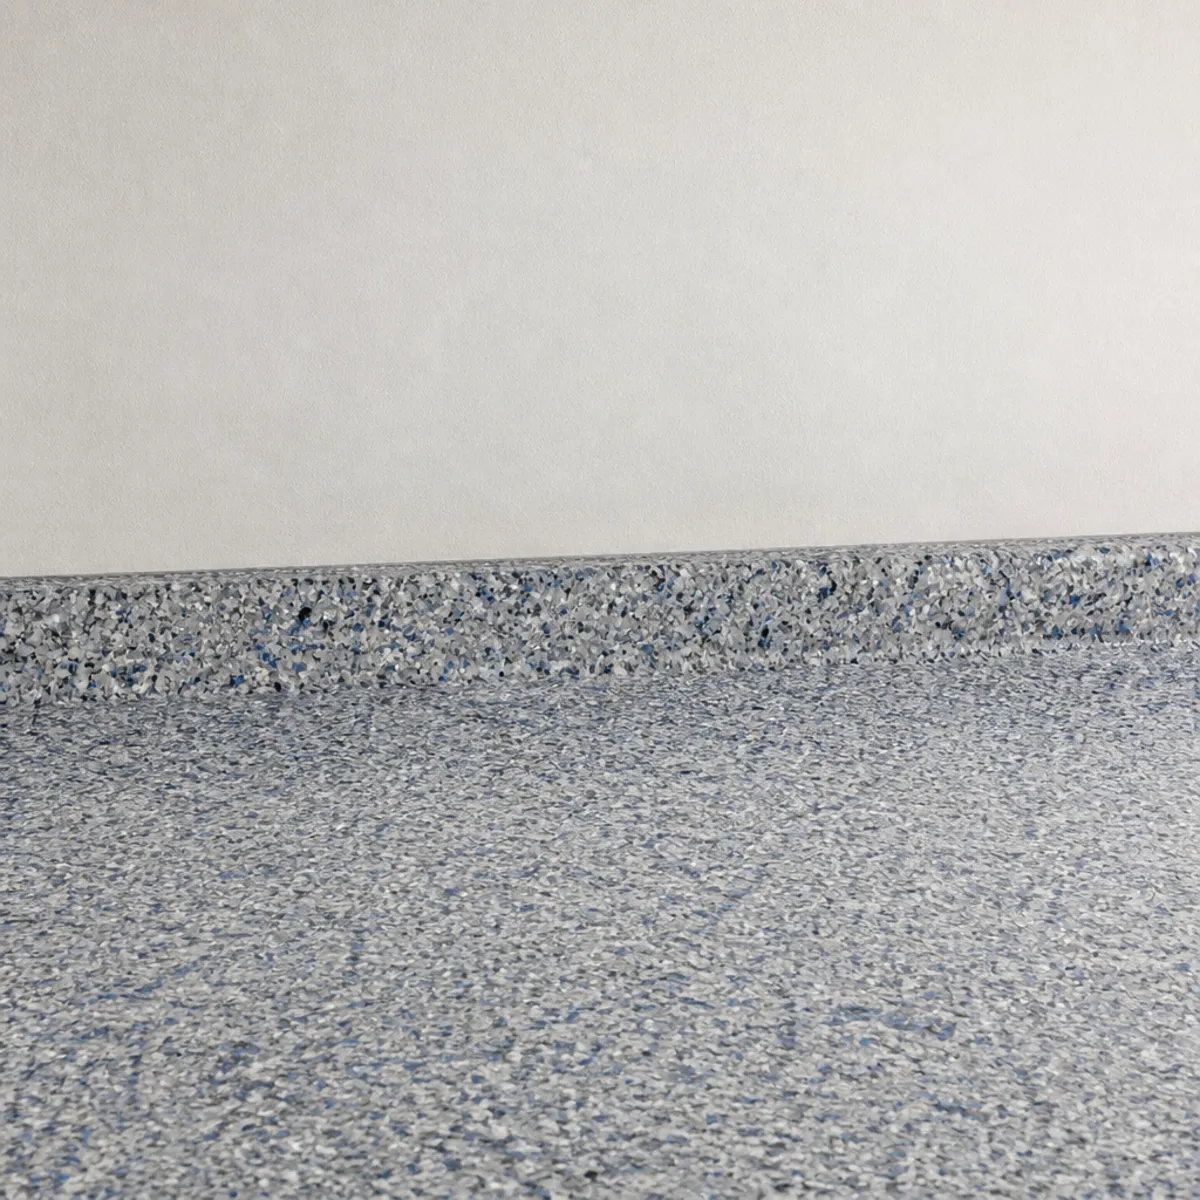
What drives the cost of a garage floor coating
We won't quote a per-square-foot number sight unseen, because honest pricing depends on your slab. But here's exactly what moves the price so you can compare quotes intelligently:
| Cost driver | Why it matters |
|---|---|
| Square footage | Larger garages spread fixed setup costs but add material |
| Slab condition | Heavy cracking, spalling, or old failing coatings add prep labor |
| System chosen | Solid color costs less than full flake or quartz builds |
| Moisture levels | A high-moisture slab may need a mitigating primer |
| Coverage and flake density | Full flake coverage uses more material than a light broadcast |
| Edge and detail work | Coved edges, steps, and thresholds add labor |
Be cautious of rock-bottom "from $X installed" offers. They often assume a perfect slab, skip real grinding or moisture testing, and use thin economy topcoats, which is precisely the combination that fails in our heat. The cheapest quote and the cheapest floor over its lifetime are rarely the same thing.
DIY kit vs. professional coating
We're not here to bash every weekend project, but on this one the climate is honest with you. A DIY kit usually looks cheaper until you count the second one you buy after the first peels. Kits rely on acid etching instead of mechanical grinding, include thin topcoats that aren't UV-stable, and skip moisture testing and crack repair entirely. In a dry climate you might get years out of that. In Houston, the heat and humidity find every shortcut.
A professional system costs more up front because it includes the grinding, the repair, the moisture handling, and the better materials the climate demands. What you're really buying is a floor that doesn't lift in tire patches the first August.
Keeping your coated floor looking new
A quality coating is low-maintenance, not no-maintenance. To get the full lifespan:
- Dust-mop or blow out grit regularly so it doesn't act like sandpaper underfoot.
- Rinse or mop with a pH-neutral cleaner; skip harsh acids and citrus degreasers.
- Wipe oil, brake fluid, and battery acid promptly.
- Use a mat under a leaky vehicle until it's repaired.
Our full routine lives in how to maintain an epoxy garage floor, and we also offer floor repair and maintenance if an older coating needs attention.
Why Houston homeowners choose South Coast Epoxy
We're locally owned out of League City, and Andrew and the crew coat garages all over Greater Houston and the Bay Area, from Clear Lake to Friendswood to Pearland and beyond. We built our whole approach around Gulf-Coast slab-on-grade, heat, and humidity, because that's what every floor we install has to survive. Our customers have left us 57 reviews at a 4.9 rating, and we'd rather earn a long-term result than sell a quick film that fails. If you're vetting installers, our flooring contractor hiring guide covers the questions worth asking.
Ready for a garage floor built for how Houston actually is? Email us at info@southcoastepoxy.com or reach out through our contact page for a free, no-pressure quote. Tell us about your garage and how you use it, and we'll recommend the right system, an honest timeline, and a finish you'll be glad you waited a day for.
Frequently Asked Questions
What is the best garage floor coating for Houston humidity?
A professionally prepped epoxy or flake base finished with a UV-stable polyaspartic topcoat handles Houston humidity and heat best. The prep and moisture handling matter as much as the product.
Why do DIY garage coatings fail in Houston?
Most DIY kits skip diamond grinding and moisture testing, so humidity and hot tire pickup cause peeling and lifting within the first hot summers.
How long does a Houston garage coating take?
Polyaspartic systems often finish in a single day. A full flake epoxy build usually takes one to two days including cure time before you can park on it.
Do you need to grind a Houston garage slab first?
Yes. Diamond grinding plus moisture checks are essential here so the coating bonds to the slab and lasts through our heat and humidity.
About South Coast Epoxy
South Coast Epoxy is a locally owned epoxy, polished concrete, and flooring contractor based in League City, TX, serving homeowners and businesses across the Houston Bay Area. Owner Andrew and his crew specialize in durable, great-looking floors built for the Texas Gulf Coast. Get a free quote →